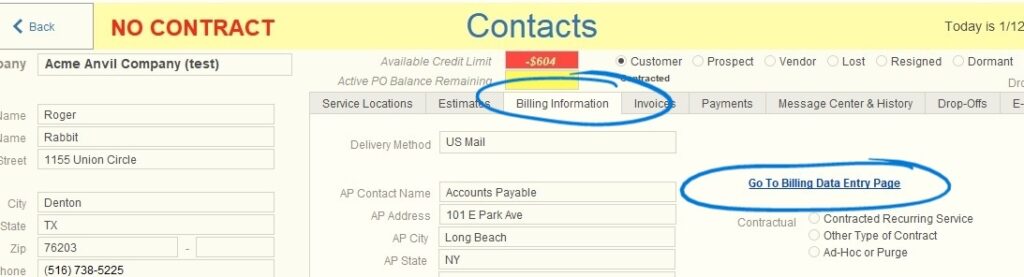
The AP Contact Name is adjusted from the Billing details page. Using Acme Anvil Company as an example, start on the Billing Information tab of the Contacts page and click the link to the Billing Data Entry page:
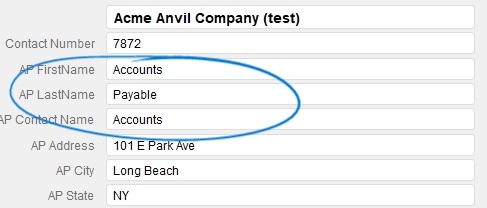
Now look at the name fields. There is a separate field for first name and last name, and then those combine together to create the “AP Contact Name”. We do it this way because it is a QuickBooks requirement to pass them separate fields for first and last name. In this example, note that we only see the first name in the AP Contact Name field:
This is because when the customer was set up an extra return was typed after the first name. You can confirm this by clicking on the contents of the AP First Name field and you will see it expand to 2 lines instead of just one:

To fix this, click into the field after the first name, delete the extra character, and re-click back into the field. When you do you will now see that the full name displays correctly as the AP Contact Name:

The AP Contact Name field is exactly how the name will appear on your invoices, so it is important to at least look at it when the billing is set up for a new account. If you don’t see the first and last name properly on this screen, you won’t see them properly on the Invoice.
USEFUL TIP: Sometimes you may not know the name of the person to direct the invoice to, but these fields are still required. In this case fill in the first name field as “Accounts” and the last name field as “Payable”. These will create an AP Contact Name of “Accounts Payable” and will be consistent with the QuickBooks requirements.